Access GCA
Hey there,
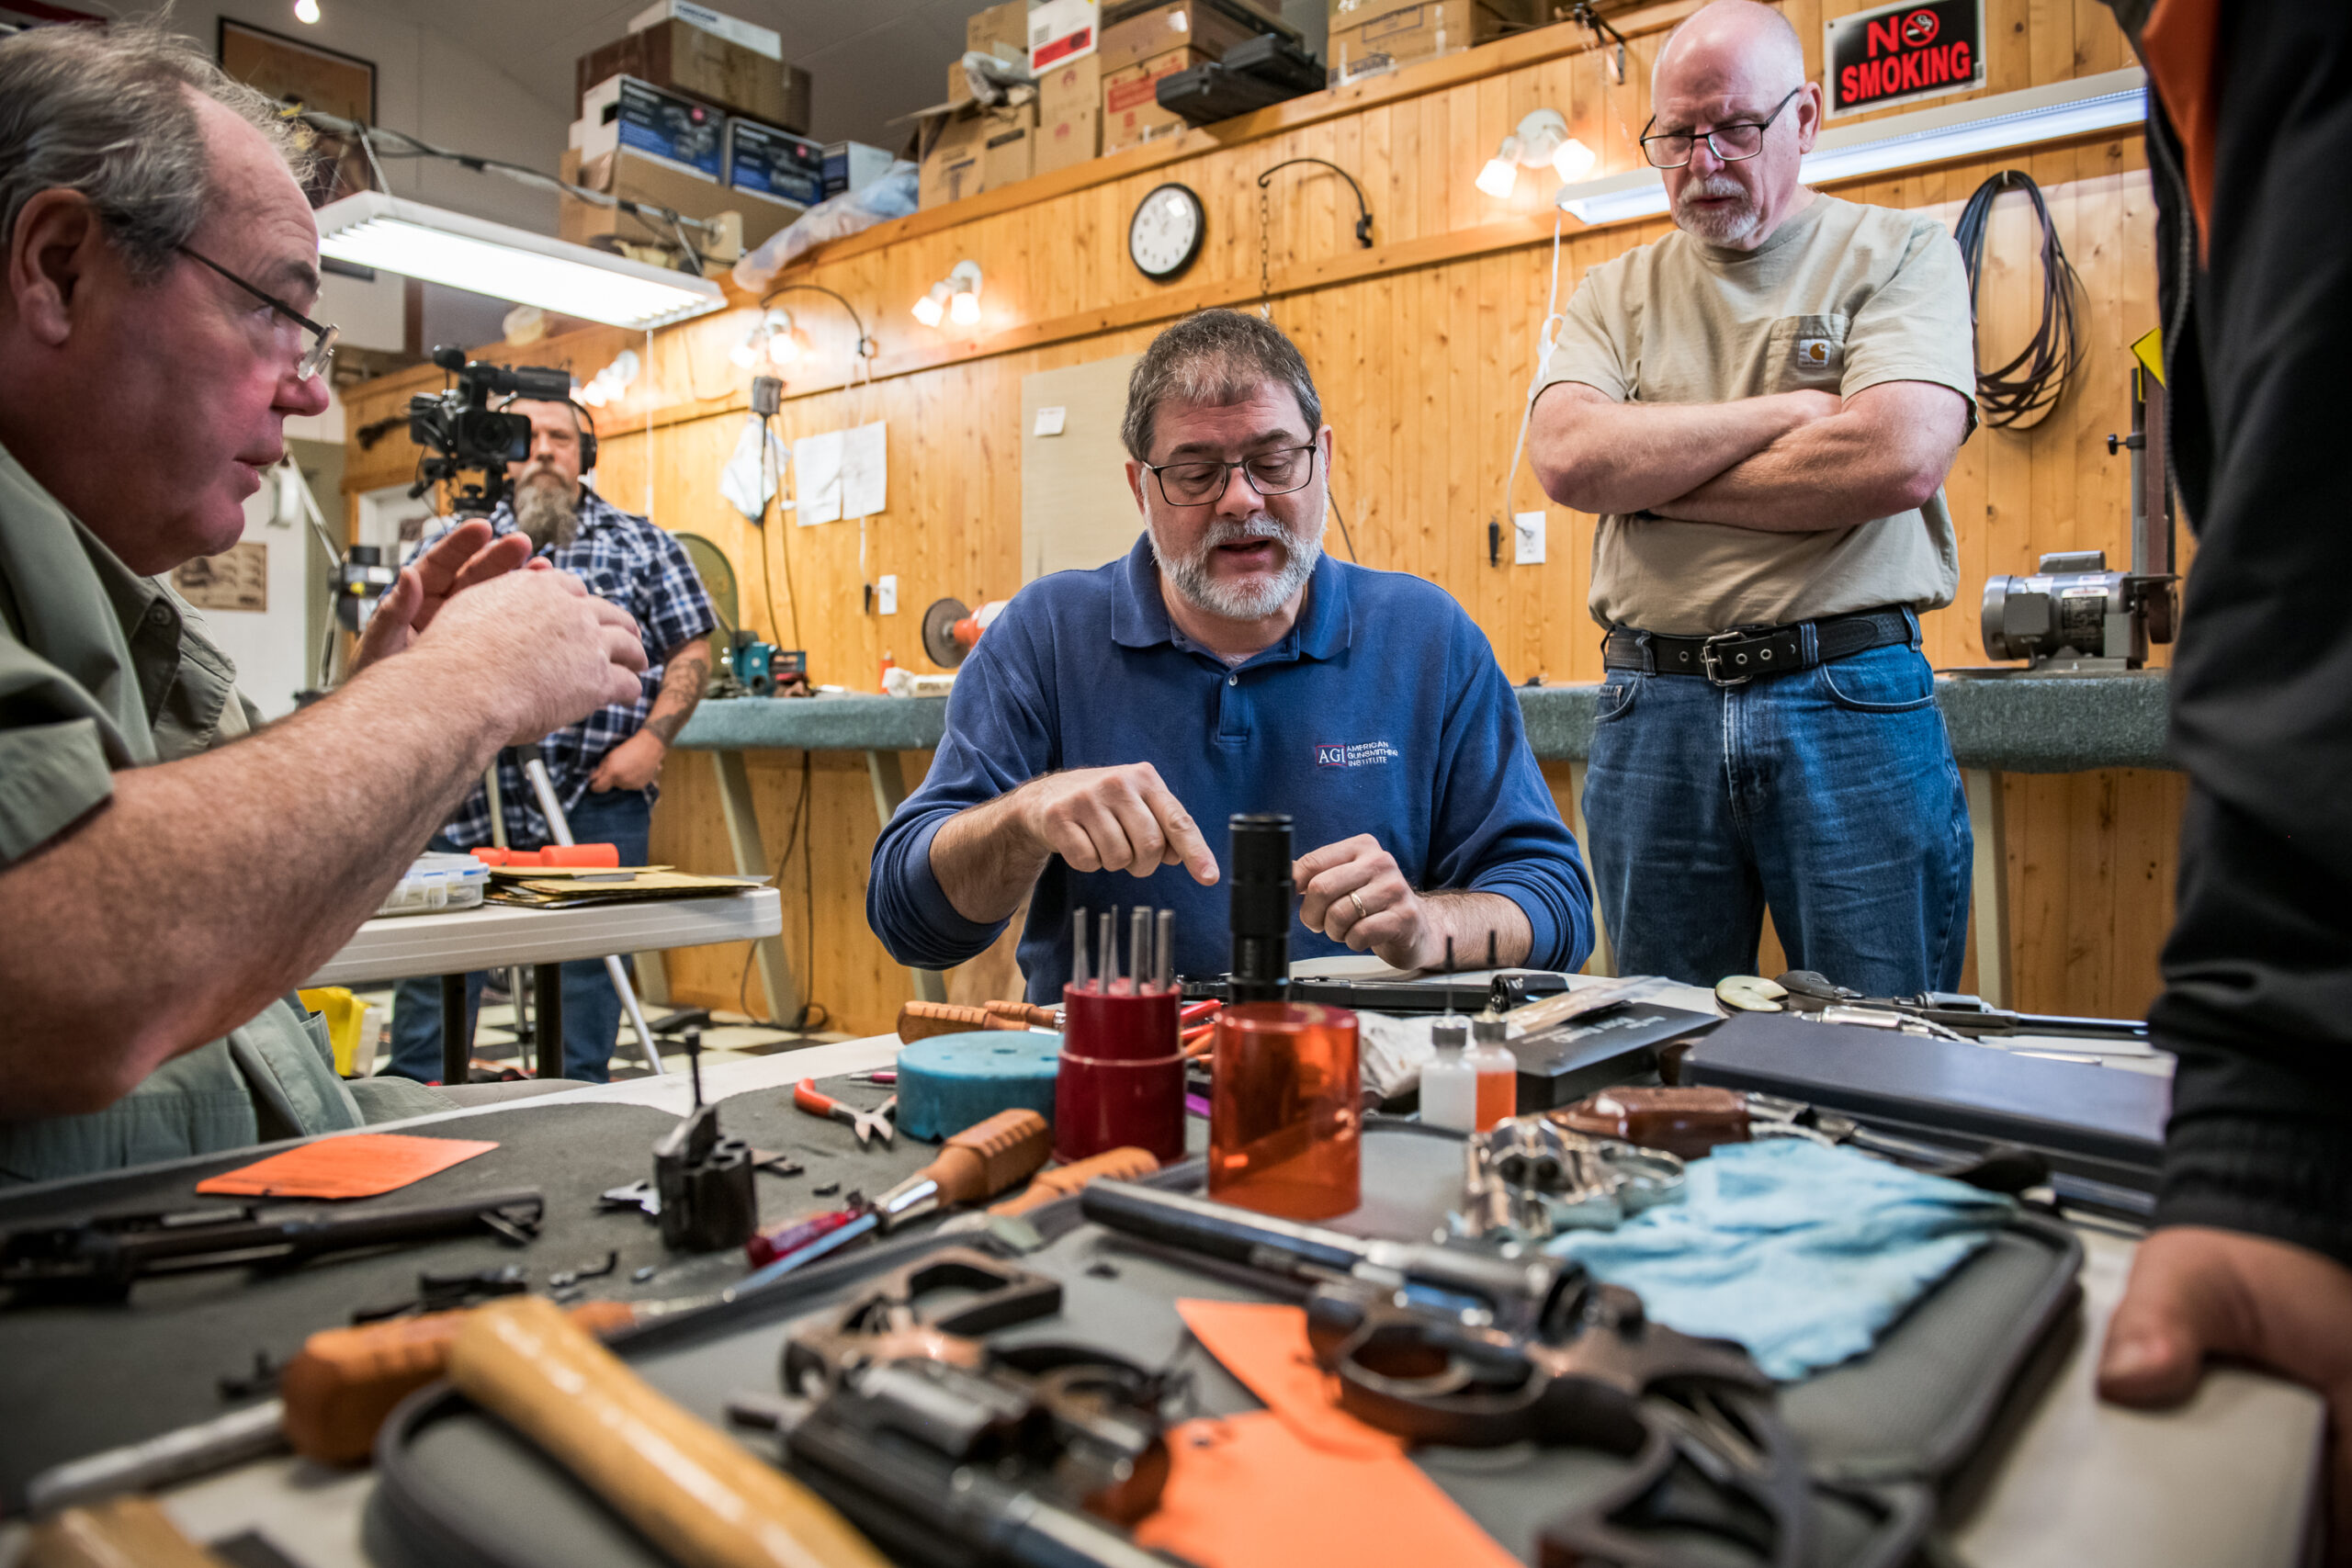
As we kick off another cycle around the sun, it’s a perfect time to revamp and reorganize your gun shop for maximum efficiency and productivity. Whether you’re a hobbyist or running a commercial gunsmithing operation, a well-designed workspace can make all the difference. So, grab your tools and let’s dive in!
1. Assess Your Space
Start by clearing out your shop and taking stock of your available space. Measure the dimensions and create a map to visualize potential layouts. Whether you have a small corner or a spacious workshop, optimizing every inch is crucial.
2. Define Your Objectives
Consider your goals for the shop. Are you focusing on personal gunsmithing projects, or do you aspire to run a high-volume commercial operation? Your objectives will influence the layout, equipment selection, and overall setup of your shop.
3. Create a Budget
Once you have a clear vision, outline a budget for your shop. Prioritize essential equipment and upgrades based on your goals and available funds. Remember, investing in quality tools and organization now will pay off in the long run.
4. Map Out Work Areas
Identify key work areas within your shop, including:
- Incoming work storage
- Workbench area
- Common tool rack
- Specialty tool storage
- Power equipment locations
- Work in progress waiting parts area
- Parts storage
- Specialty benches or work areas
- Dirty work area (e.g., heat-treating, welding)
- Vise locations
- Power outlets
- Comfort features (chairs, carpet, padded floor area)
5. Plan for Efficiency
Ensure that each work area is strategically positioned for efficiency. Minimize unnecessary movement by arranging tools and equipment logically. Create designated spaces for specific tasks to streamline workflow and maximize productivity.
6. Document Your Progress
Take before and after photos to track your shop’s transformation. Not only will this serve as a visual record of your improvements, but it will also provide motivation and satisfaction as you see your efforts come to fruition.
Stay Tuned for More- In the upcoming installments of this series, we’ll delve deeper into each sub-work area, offering tips and strategies for optimal setup. Whether you’re a seasoned gunsmith or just starting out, these insights will help you create a shop that’s efficient, organized, and tailored to your needs.
Here’s to a successful year of gunsmithing!