Access GCA
Hey there,
In the previous installment, we talked about the importance of setting clear objectives for your gun shop and creating a budget. Now, let’s dive into the nitty-gritty of mapping out your work areas for optimal efficiency.
1. Incoming Work Storage
Designate a specific area for incoming firearms awaiting repair. Consider using racks with pegs for long guns and slots for handguns to prevent damage during storage. Each firearm should be logged into your records and tagged with details of the work to be done. Having a dedicated space for incoming work streamlines your workflow and ensures organized progress through the repair process.
2. Workbench Area
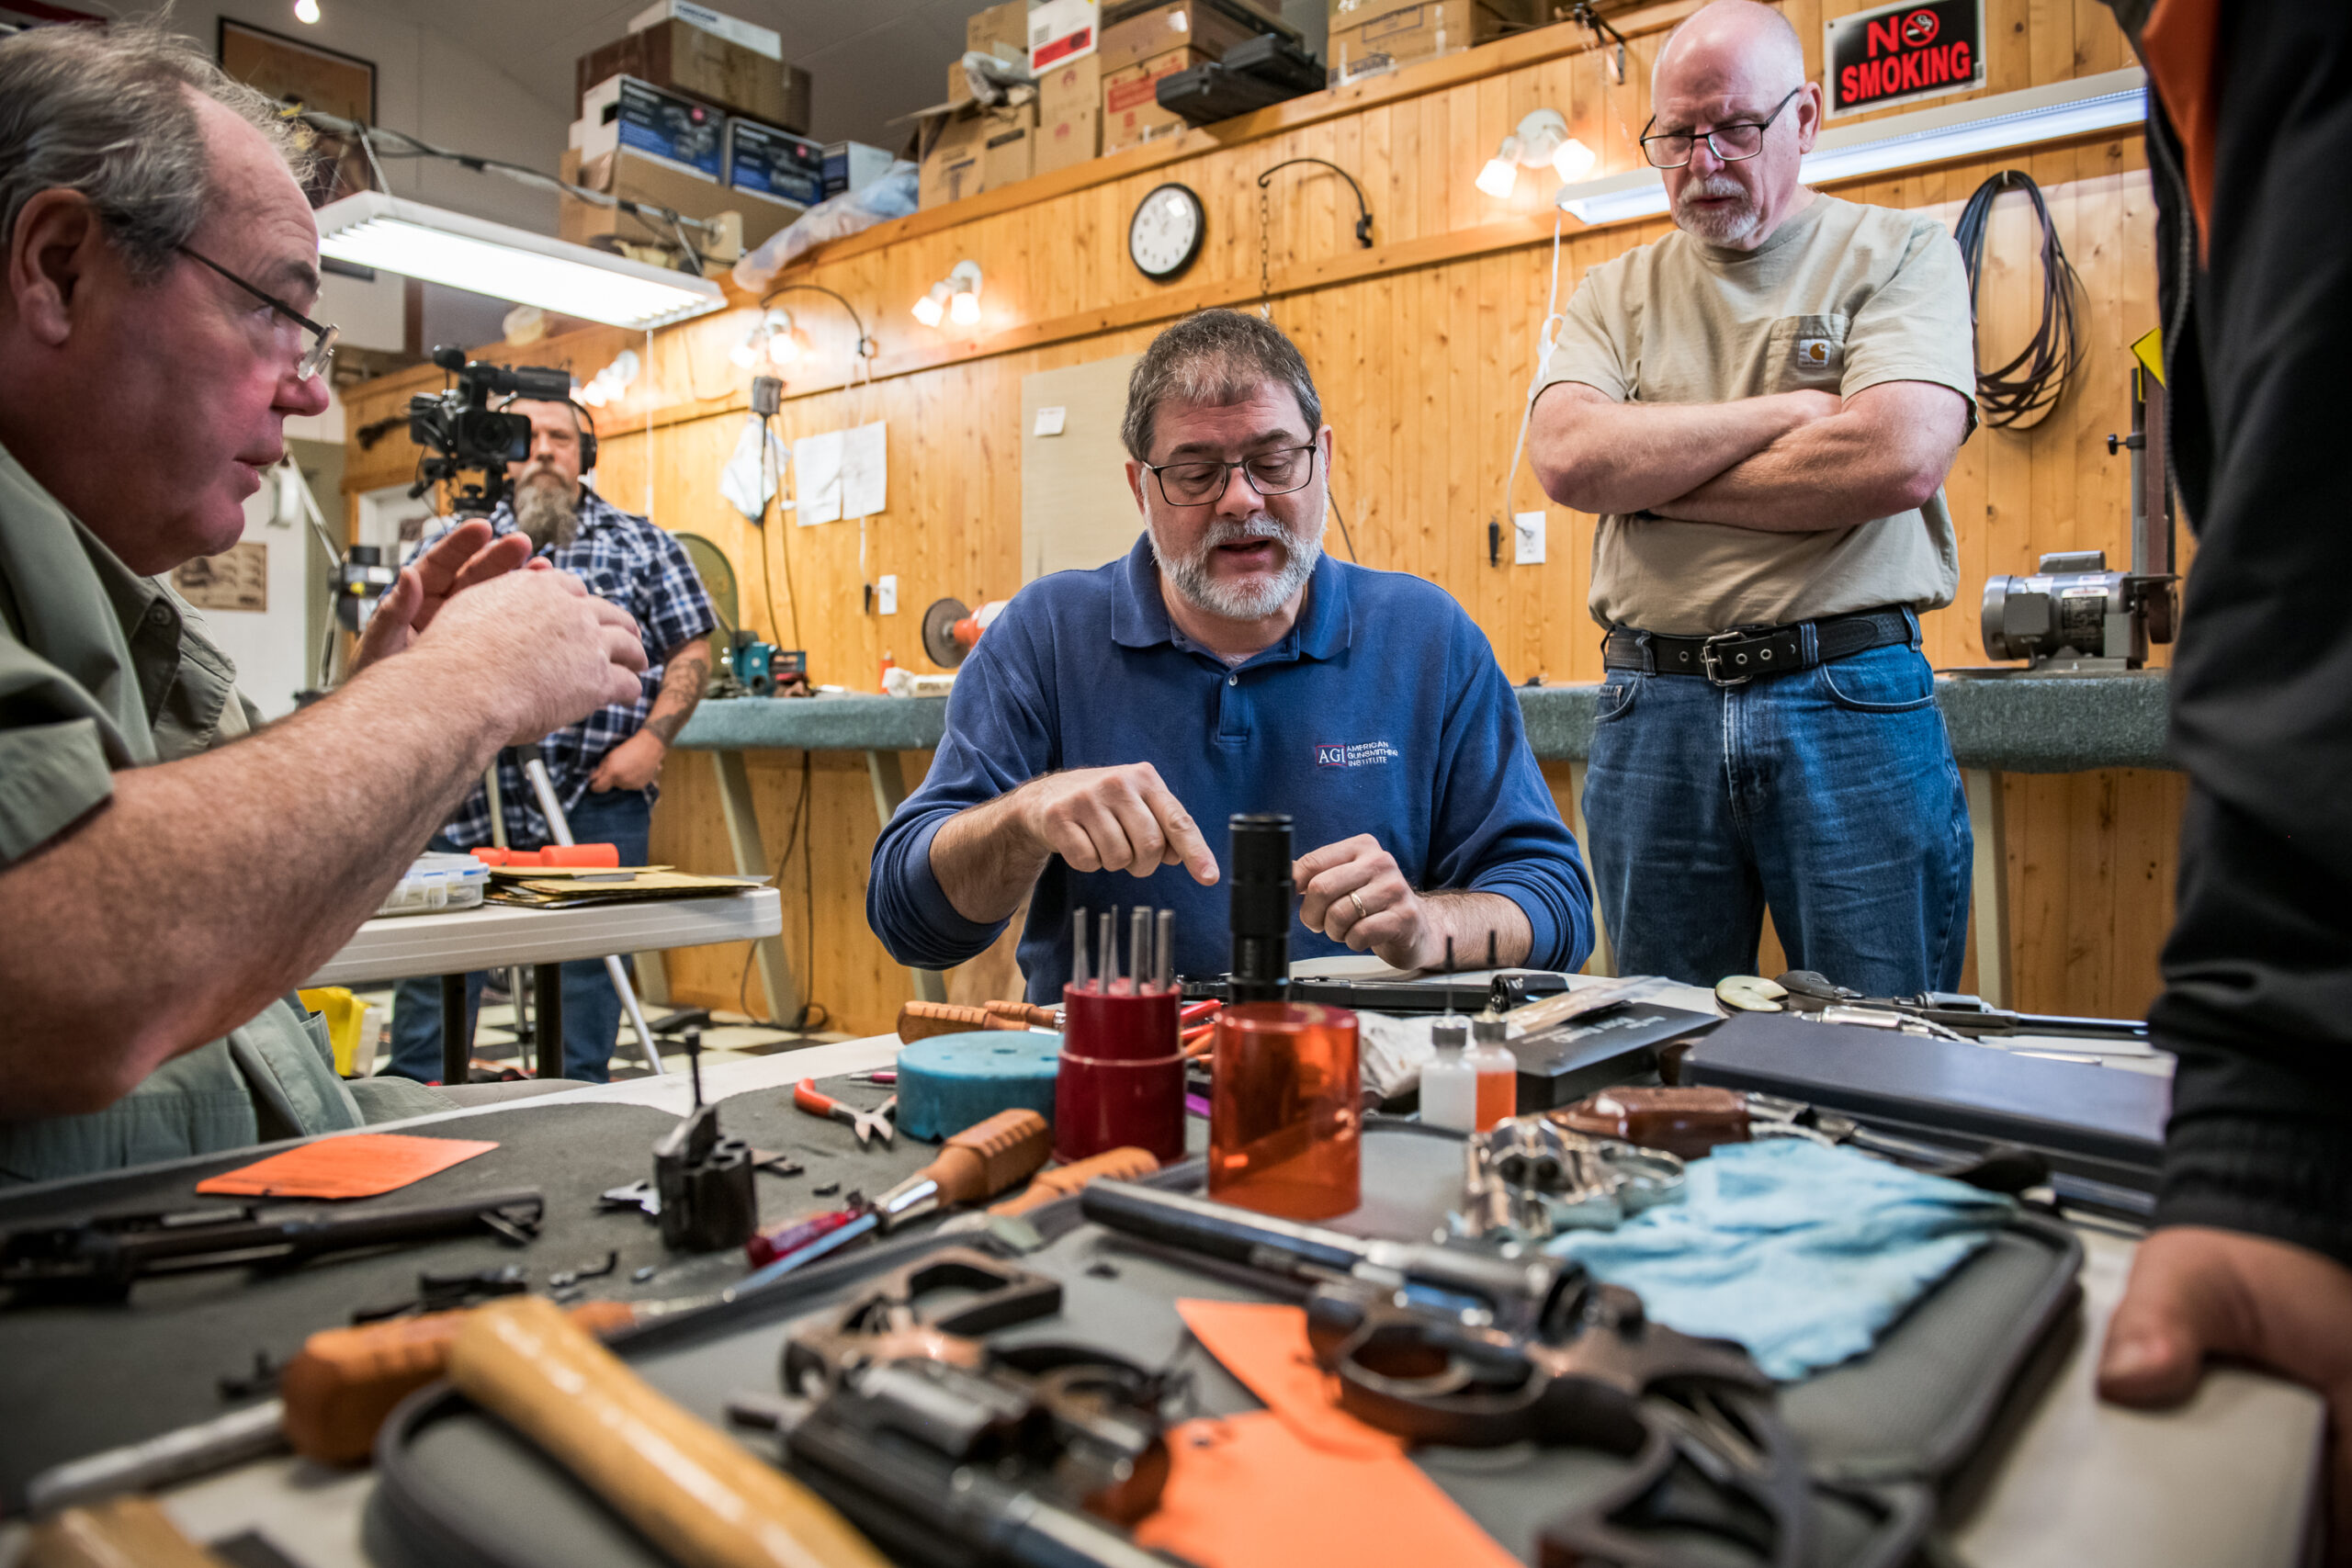
Your workbench should be sturdy and stable, providing a solid surface for hands-on work. Aim for a minimum length of 60 inches and a depth of 20 to 24 inches, allowing easy access to tools mounted on the back wall or bench area. Adjust the height of the bench to suit your comfort level, ensuring you can apply pressure without strain. Consider using flexible mats and carpeting to reduce fatigue and provide cushioning for delicate firearm components.
3. Common Tool Rack
Arrange your most frequently used tools for easy access and efficiency. Whether you opt for pegboard holders or specialty fixtures like the OMNI wall, prioritize accessibility and convenience. Commonly used tools such as screwdrivers, hammers, and pin punches should be within arm’s reach. Explore both horizontal and vertical storage options to maximize space utilization.
4. Planning for Efficiency
Think strategically about your layout to minimize unnecessary movement and maximize productivity. Consider the placement of electrical outlets, power cords, air lines for compressed air, and lighting fixtures. Create a comfortable and ergonomic workspace to prevent fatigue and optimize workflow. Don’t forget to plan for infrastructure needs before finalizing your layout to ensure smooth operations.
5. Document Your Progress
Track your shop’s transformation with before and after photos to monitor changes and improvements. This visual record not only serves as a reference but also provides motivation and satisfaction as you see your efforts pay off.
In the next installment of this series, we’ll delve deeper into preparing and storing work awaiting parts, setting up a “dirty” work area, and other technical aspects of shop setup. Whether you’re a seasoned gunsmith or just starting out, these insights will help you create a workspace that’s efficient, organized, and tailored to your needs.
Until then, keep dreaming and planning your ideal gunsmithing workspace!